Managing Exchange Online with PowerShell makes a lot of daily tasks a lot easier (and quicker). Not only for your daily tasks you may need PowerShell, but some settings in Exchange Online can only be changed with PowerShell. So how do you connect to Exchange Online with PowerShell?
The latest version of Exchange Online Powershell Module, EXO V2, that we are going to use supports modern authentication and will work with MFA. So you don’t need to create an app password anymore.
Requirements for EXO V2
The new Exchange Online PowerShell module only works on PowerShell 5.x and lower. It doesn’t work on Linux or Mac. Support for PowerShell 6 and 7 is planned, but there is no release date announced yet.
You will need to configure PowerShell to run remote scripts. By default this is disabled.
- Open PowerShell in an elevated mode
Press Windows key + X and choose Windows PowerShell (admin) - Set the execution policy to Remote Signed:
You only need to set this once per computer. If haven’t set the execution policy and try to connect to Exchange Online you will get an error:
Files cannot be loaded because running scripts is disabled on this system. Provide a valid certificate with which to sign the files.
Install the Exchange Online V2 Module in PowerShell
We need to install the EXO V2 Module in PowerShell before we can connect to Exchange Online. Again open an Elevated Windows PowerShell window:
- Open PowerShell in an elevated mode
Press Windows key + X and choose Windows PowerShell (admin) - Install PowerShellGet
We need to install PowerShellGet before we can install the EXO V2 Module.
- Install EXO V2 module
We can now install the latest Exchange Online PowerShell module with the Install-Module cmdlet
Automatically check if EXO Module is installed
Are you going to use the Exchange Online module in a script? Then make sure you automatically check if the module is installed before your try to connect.
With the use of a single cmdlet, we can list all installed modules in PowerShell. You can prevent unnecessary errors by simply verifying that the ExchangeOnlineManagement module is available.
The cmd above should return a list of installed Exchange Online modules. If the result is empty, then we know that the module isn’t installed.
Connect to Exchange Online with PowerShell
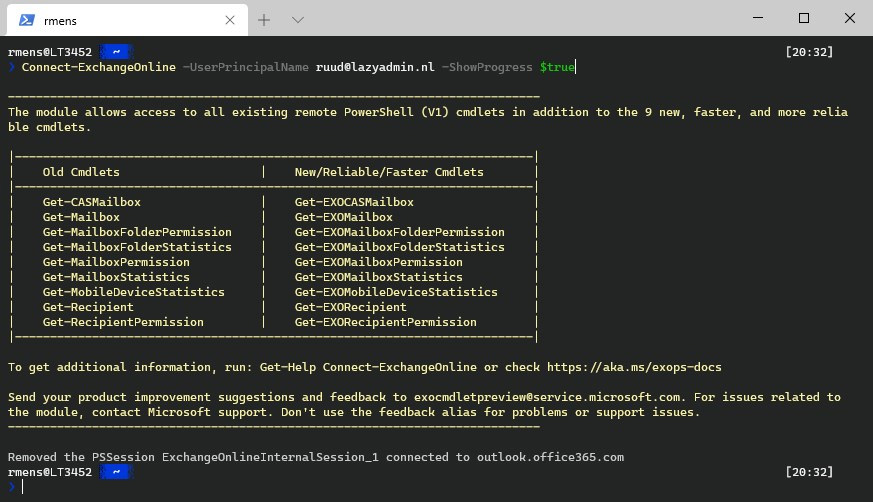
With the Exchange Online Module installed we can now easily connect to Exchange Online with a single cmd in PowerShell:
The new EXO V2 module also supports connecting to another tenant. If you are a Microsoft Partner and need to connect to another tenant then you can connect to it by adding the DelgatedOrganization switch.
Connecting Exchange Online to PowerShell without Modern Authentication
You can use the following method to connect to Exchange Online in PowerShell, if your account doesn’t support Modern Authentication yet:
Check if Exchange Online is Connected
It’s a good idea to check if a connection already exists when using the Exchange Online module in scripts. Keep in mind that you can only have 5 simultaneous connections to Exchange Online. And you probably don’t want to log in if you don’t need to.

The EXO connections are listed in the PowerShell sessions. We can get all sessions with the cmdlet Get-PSSession.
With the snippet below you can check if there is an active ExchangeOnline session:
Getting mailbox information
With the new EXO V2 module you can now easily get the mailbox details with the following shorthand:
Disconnecting your Sessions
Always make sure you disconnect your Exchange Online session before you close your PowerShell window. If you don’t close the session, you may end up using all 5 remote PowerShell connections to Exchange Online. If that happens you will need to wait for the sessions to expire before you can reconnect.
Connecting PowerShell to Exchange Online Alternative
If you can’t use the new EXO v2 module, because you are using Basic Authentication for example, then you still can connect to Exchange Online. Keep in mind that this gets eventually deprecated, so when possible use the Modern Authentication option described earlier.
For the basic authentication method we are going to import the Exchange Online cmdlets. First make sure that you have set the execution policy to remote signed:
- Open PowerShell in an elevated mode
Press Windows key + X and choose Windows PowerShell (admin) - Set the execution policy to Remote Signed:
- To connect to Exchange Online we first need to store our credentials:
- Next we can create and import the Exchange Online cmdlet into PowerShell:
Make sure you disconnect your session when you are done:
Frequently Asked Questions
Error : Files cannot be loaded because running scripts ….
If you get the error “Files cannot be loaded because running scripts is disabled on this system. Provide a valid certificate with which to sign the files.” then you have forgotten to set the execution policy.
Run the following cmd in an elevated PowerShell Window:
Set-ExecutionPolicy RemoteSigned
Cannot validate argument on parameter ‘Session’ – error
You are trying to connect to Exchange Online with an MFA enabled account while using the basic authentication option.
Make sure you install the latest Exchange Online Module, EXO V2, as explained in the beginning of the article.
Fail to create a runspace because you have exceeded the maximum number of connections allowed
You have used all 5 available connections to Exchange Online. Make sure you disconnect your PowerShell sessions.
To close the current sessions you get to run the following cmd:
Get-PSSession | Remove-PSSession
Connecting to remote server outlook.office365.com failed with the following
error message : Access is denied
To connect to Exchange Online you will need to use an account that is global admin in Office 365. The account that you are connecting with doesn’t have the correct permissions.
Wrapping up
The new Exchange Online module is really powerful and makes working with Exchange Online a lot easier. I hope this article helped you to get started. If you have any questions, just drop a comment below.
